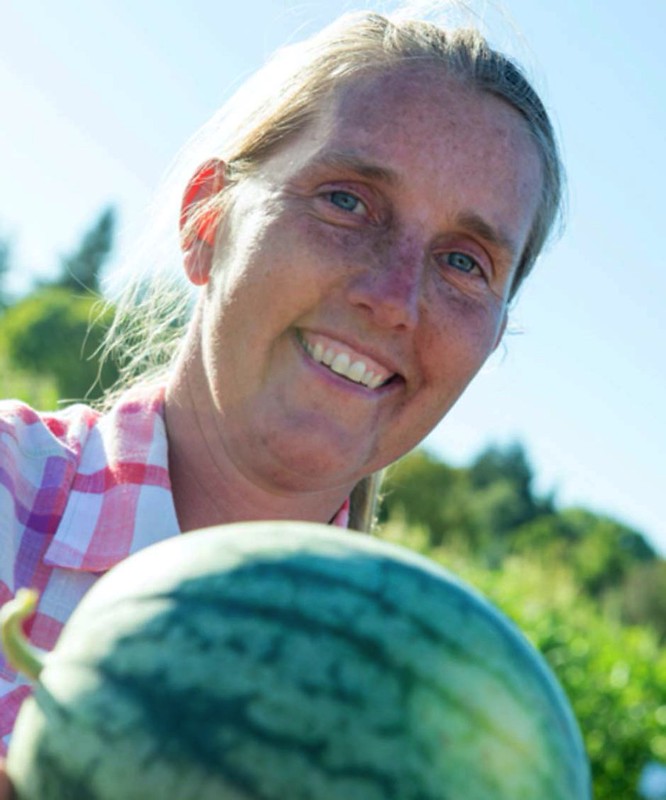
Growing melons takes some effort in western Oregon, but with the right methods it can end in sweet success.
With a warmer, drier climate, eastern Oregon is well set up for cultivating melons. Western Oregon isn’t as hospitable, but you can accomplish a crop by choosing the right variety and following tips from Heidi Noordijk, metro small farms outreach coordinator for Oregon State University Extension Service.
“Be discerning when you choose a variety,” Noordijk said. “Select ones that will ripen in the cooler growing conditions of western Oregon. If you’re choosing varieties for the west, you look for melons that require a shorter season – 75-100 days from sowing to harvesting. It’s a great disappointment to grow a healthy melon plant and end up in September with inedible fruit.”
There are nine different types of melons, Noordijk said, and they vary from the familiar watermelon and cantaloupe to the unusual snake cucumber, which is actually a melon. The melons are categorized into two classifications – full slip or forced slip – depending on how they come off the vine when it’s time to harvest. Full-slip melons come off the stem easily when the fruit is ripe. With forced-slip melons, you have to watch other indicators like skin color and scent (see below). The seed packet should say which category your melon is in.
Varieties that have performed well at the OSU Vegetable Research Farm in Corvallis are: Superstar, Dutchess, Ariel, Earli-champ, Sarah’s Choice and Sugar Cube.
For more information, see Melons: Cantaloupe, Muskmelon, Honeydew, Crenshaw, Casaba, etc.
Tips for growing melons:
- Choose seed of short-season melons, with harvest dates 75 to 100 days after planting.
- Put melon patch in full sun in the warmest spot in your garden.
- Choose light, well-drained soil. Avoid using plots where you’ve planted muskmelons, watermelons, pumpkins, squash and cucumbers in the last three years.
- Before planting, prepare the soil by digging in some compost and all-purpose fertilizer. When the vines start growing, side dress with a 5-10-15 or 10-15-20 fertilizer (the number on the label shows the percentages of nitrogen, phosphorus and potassium).
- Plant three seeds per hole directly into the ground when soil reaches at least 65 degrees (you can buy an inexpensive soil thermometer at garden centers), usually at the end of May or beginning of June. Plant seeds ½ to 1 inch deep with rows 6 feet apart. Plant seed 24-36 inches apart. Thin to one plant per mound after plants have sprouted. As an alternative, buy starts from a nursery.
- Cover the soil with plastic or straw mulch (not hay, which has seeds). Cut holes and plant seeds.
- At planting, cover crop with floating row cover, which are available at garden centers. The covering will keep out seed predators and insect pests. Remove them when plants start to flower because they need bees to pollinate.
- Using a drip irrigation system or soaker hoses under the plastic is highly recommended. If you use sprinklers, the plants will have more diseases. Keep the melons watered through summer – about 1 to 2 inches a week or when the soil is dry down the first 4 inches or so — but not waterlogged. Reduce watering once the fruit begins to mature.
- The proper time to harvest melons depends on the specific variety that you are growing, so check the seed packet. Generally speaking, full-slip melons are ripe when they release easily from the stem. With forced-slip melons, smell the skin to determine ripeness. If you can smell the scent of melon through the skin, it’s time to harvest. If the scent gets strong, it’s overripe. The background color will be more yellow on melons when they are ready to harvest.

