Ignoring moisture and insect damage in the home leads to serious problems down the line. Annual inspection is essential to head them off.
Whether you do it yourself or hire someone, start your inspection by checking out the publication, Home Moisture Problems, written by Oregon State University Extension Service experts to help you solve many problems you might encounter.
The 12-page illustrated circular provides information on: the causes of indoor and outdoor moisture, drainage problems and how to fix them, symptoms of wood decay and ventilation and dehumidification.
If you plan to inspect, maintain or repair yourself, begin by taking a tour around the exterior of the house.
Does water wick up the foundation? This indicates a need for better drainage of the soil next to the foundation.
Are there plants or tree branches that touch the house? These make perfect thoroughfares for carpenter ants to enter and leave. Plan to trim plants back at least 24 inches from the house.
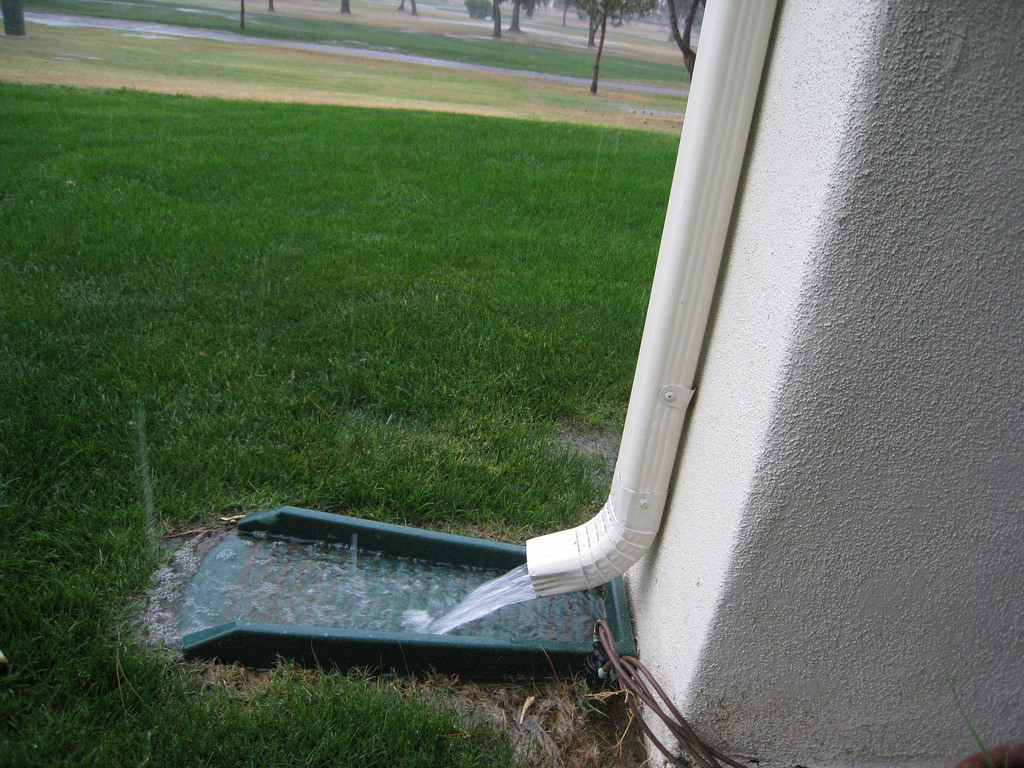
Don your raincoat and go out during a down pour or snow melt and examine the gutters and downspouts. Are there breaks or leakage? Examine the area around and under decks for rot, especially where the deck attaches to the house.
Now comes the fun part. Put on some coveralls, gloves and a stocking cap. Arm yourself with a head lamp or flashlight and a screwdriver and crawl under the house.
Is there a layer of plastic on the soil floor of your crawl space? There should be. Plastic provides an excellent vapor barrier that helps prevent decomposition of joists and other support structures. Inspect the sill plate, (the wood between the foundation wall and the floor members) for rot and insect damage. Newer houses should have sill plates of pressure-treated wood.
Examine floor supports for rot and insect damage. Tap on suspect wood with the screwdriver to test how solid it sounds. Is there any sawdust on the ground or in spider webs? Note its location and brush it away so you can tell next time if damage from carpenter ants is still occurring. Remove any rodent nests, a source of mite, flea, lice, bed bug and tick infestations.
Check for mud tubes on foundation walls and supports – they are a sign of termites.
When you have crawled back to the outside world, write a brief report to use for comparison next year.
You are not quite done yet. Now go indoors for an inspection.
First check the attic. Are there wet spots? These indicate a leaky roof. Check for and remove all sign of animal nests.
Next, check for rot and insect damage just like you did in the crawl space. Finally, inspect under the sinks in the bathroom and the kitchen. Gaps in pipes that pass through the wall are perfect avenues for mice and rats. Seal these spaces with tin or steel wool. Check for leaks and damage.
Now write up an indoor inspection report. And then congratulate yourself. You’ve come a long way in protecting your house from insect and water damage.
What should you do if you find an infestation?
First, don’t panic. Chances are the damage has been there awhile and a few more months isn’t going to make any difference. Plan to have carpenter ant nests treated after about April 15 when the nests are active. Termite and carpenter ant colonies should be treated by professional exterminators.
To eliminate rot problems, the source of the water or moisture should be eliminated before the rotten areas are replaced.

