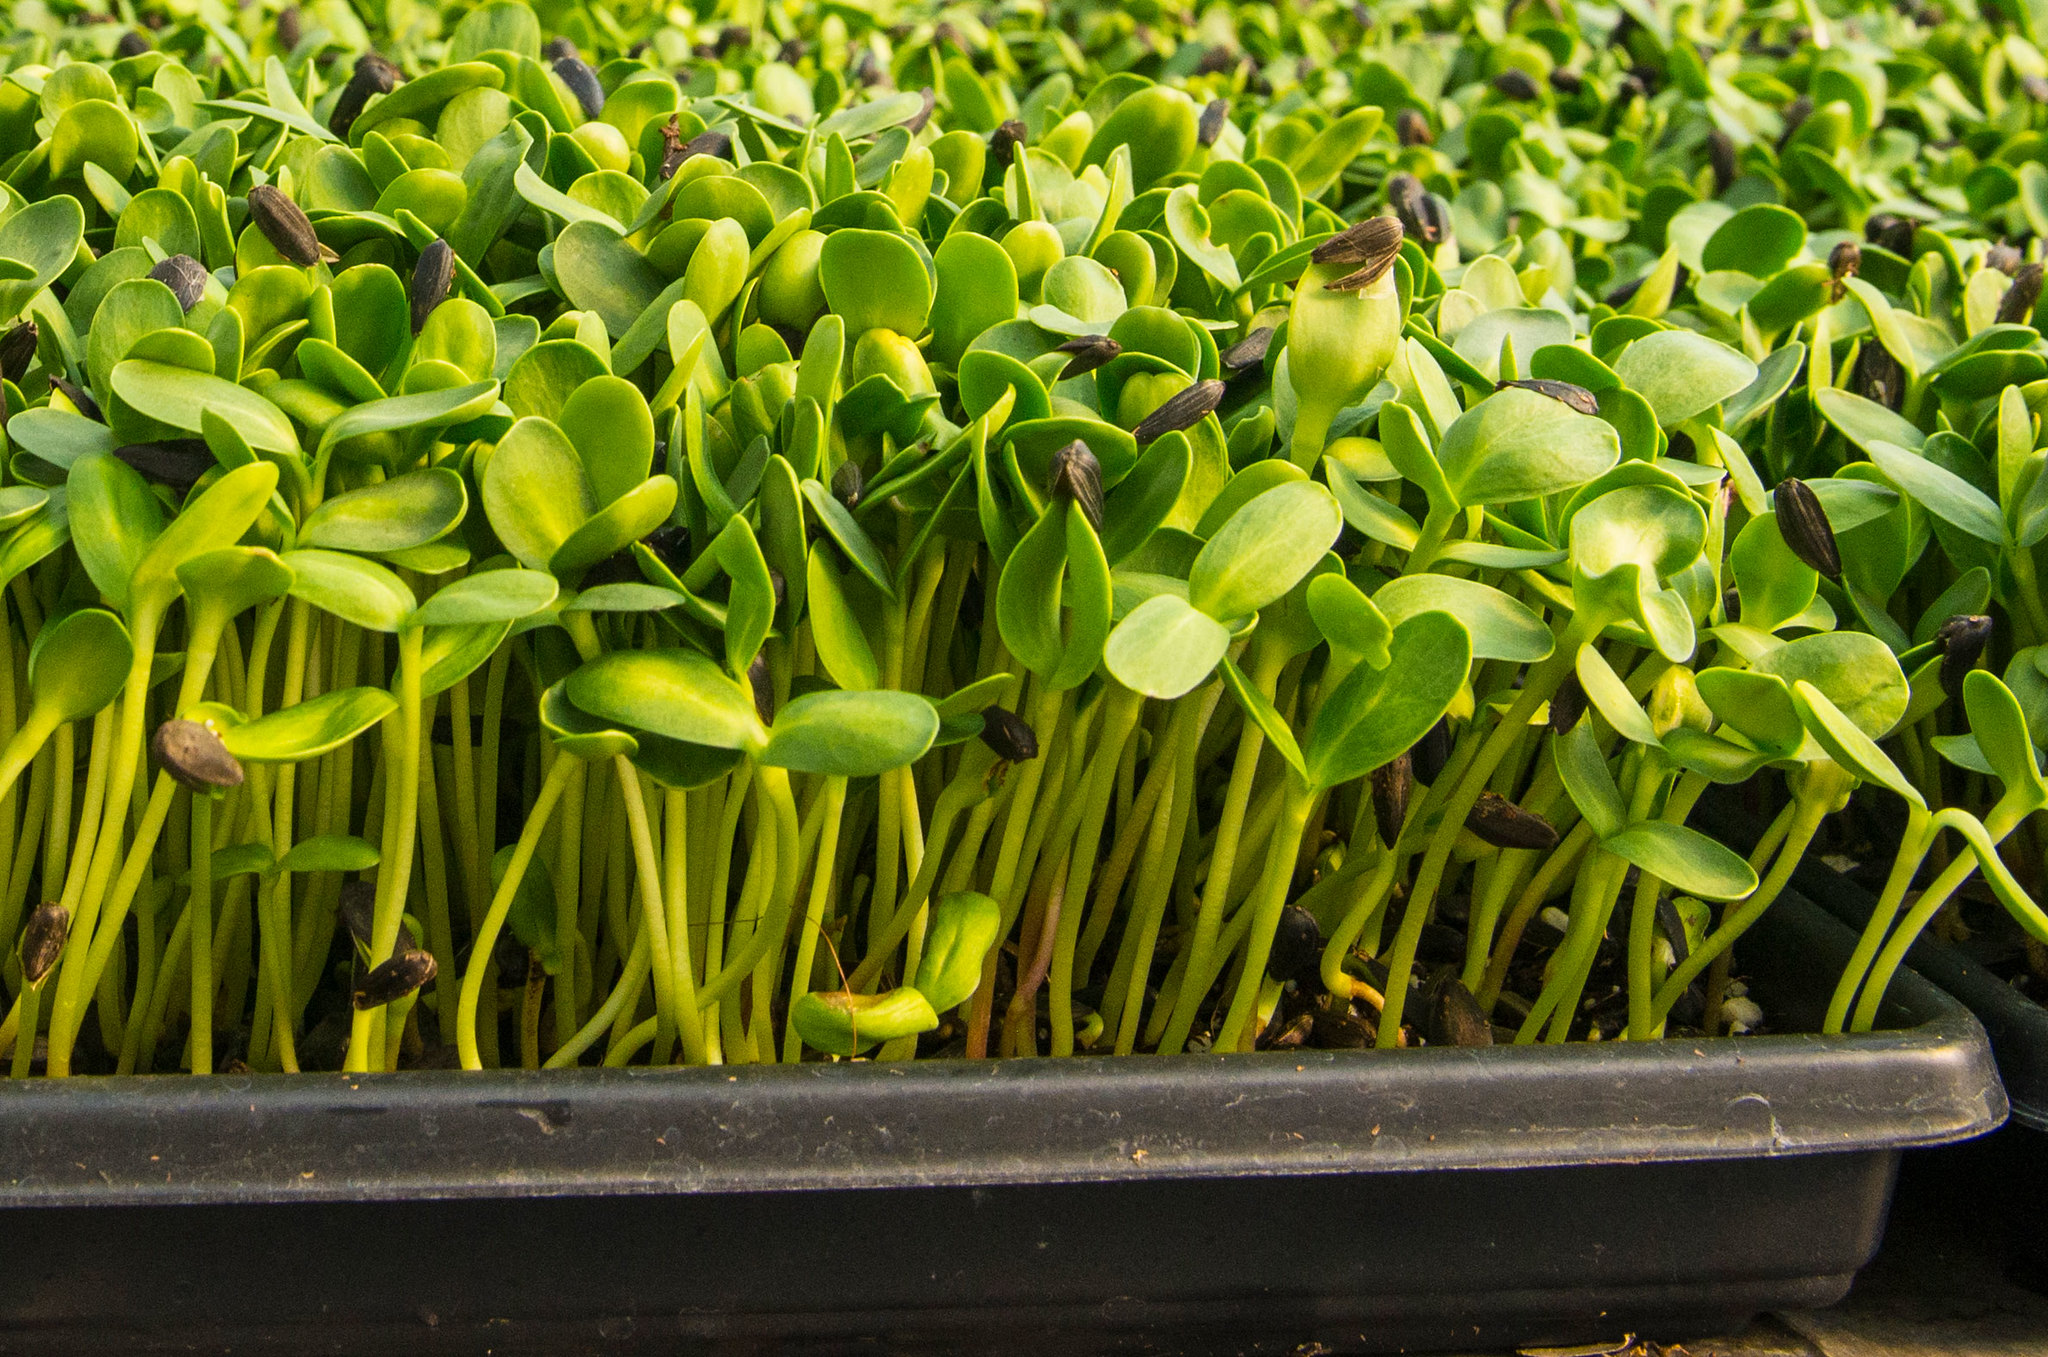
Go small with microgreens and grow tiny plants with big flavor for soups, salads and sandwiches.
Growing microgreens is fun, easy and a great activity to get kids involved in gardening, said Brooke Edmunds, horticulturist for Oregon State University Extension Service. They can be grown from kits or seed packets. Almost any kind of herbaceous vegetable or herb seed can be used; some are specifically labelled for microgreens. They’re easy to find online and you’ll often find them at nurseries and garden centers. Don’t use treated seed or bird seed, which is not meant for human consumption.
What you can grow is quite a list – garden peas, sunflowers, beets, cabbage, broccoli, basil, dill, cilantro, chard, scallions and more. For a spicier taste you can grow mustards and radishes. Sunflower microgreens will have a nutty flavor. And there are all kinds of pre-made microgreen seed mixes.
“When they’re ready, you can use them anywhere you’d use sprouts, like salads, sandwiches, a pop of flavor as a garnish on the top of soup or entrée,” Edmunds said. “They are so flavorful, a little goes a long way. Some of them are really pretty with red or yellow stems.”
Seed can get expensive, so Edmunds recommends succession planting. Plant just enough for two people to eat, wait a couple of days and plant more. That way you’ve got microgreens to harvest every couple of days and aren’t wasting seed on microgreens you won’t eat because they’ll get too big before you use them all or go bad in the fridge. Save money by looking for seed in bulk.
To get the quickest and most even growth, florescent lights work the best, but a bright window is good, too, Edmunds said. You’ll have to rotate them to get them to grow straight and easy to harvest. Microgreens also can be grown outdoors out of full sun. Since the temperature is more variable, however, it’s difficult to predict things like the timing of harvest and watering needs.
Because you harvest microgreens so quickly, fungi that cause death (damping off) usually don’t have an opportunity to get started, but be sure to remove any plastic covering, if you use one, right after germination.
Learn more about growing microgreens by signing up to be notified about an upcoming OSU Extension Grow Along , a two-week program with tips and tricks sent by email or as a text to your phone. You can also view Edmunds’ webinar on the subject.
Edmunds shares additional tips:
- Fill container with bagged potting soil. You can buy kits or go the low-cost route and reuse leftover plastic nursery flats, yogurt containers, egg cartons, or the plastic clamshells that berries and takeout food comes in (make sure there are drainage holes; if not, create some by punching a nail through the bottom of the container.
- Sprinkle seed on top of potting soil and, using a piece of cardboard or your flat palm, press them in lightly. Then cover with a light cover of potting soil.
- Using a spray bottle, mist the soil lightly so it is damp but not wet. Continue to do that at least once a day as the soil dries. People tend to overwater rather than underwater. Don’t let plants sit in water.
- Close the clamshell or cover containers with plastic. Remove top or plastic as soon as seeds germinate.
- Most microgreens are ready to eat in two to three weeks when you see the first true leaves, which emerge from the soil after the first growth called cotyledons. They’ll be ready when they reach about 2 inches tall. Use scissors to cut right at soil level.
- Microgreens won’t regrow; you’ll have to start with a new batch. If you use your containers more than once, be sure to wash them and use fresh potting soil.
- Rinse microgreens after harvest and use as soon as possible. They don’t keep well.

