
Originally appeared in the Nation Garden Bureau
Is the weather cold and gloomy outside, with your garden hibernating under a blanket of snow? Are you dreaming of summer veggies and browsing garden catalogs to help quell the winter blues?
There’s nothing better for blustery weather and SAD attitudes than the pleasure of seed starting. While it may be too early to start most seeds in January, it’s never too early to plan, order seeds, and gather seed starting supplies so you’ll be ready to get your hands in the soil for some indoor garden therapy!
Whether you’re an experienced seed grower or among the millions of new gardeners starting seeds for the first time, we’ve compiled a list of ideal seed starting supplies to make your seedy adventure a pleasure that yields gorgeous, healthy, strong plants.
Some seeds grow best sown directly in the garden in spring when the temperatures rise and the soil warms. However, other seeds, like tomatoes, peppers, and eggplant, need a head start indoors to produce strong plants ready for the gardening season.
Seed packets offer a wealth of information. Take a look at the instructions on the seed packet for information about where and how to sow the seeds. Learn more from Ask The Experts…about #SeedFacts.
Order your seeds

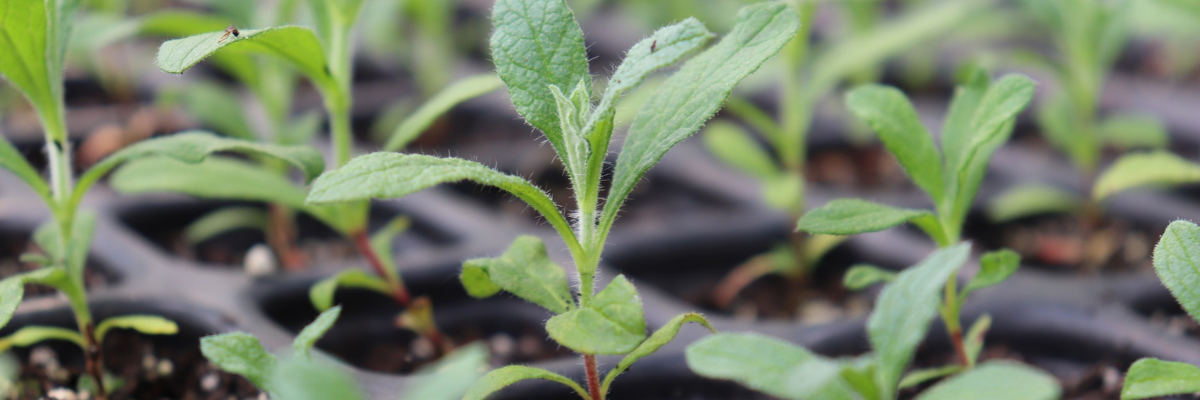
Starting seeds indoors gives plants a great start. Using biodegradable pots is a good way to avoid disturbing roots when transitioning seedlings to the garden. (Photo courtesy NGB member Johnny’s Seeds.)

Seed Starting Kit includes many of the supplies you need to get started. (Photo courtesy NGB member Botanical Interests.)

Our top 15 recommendations for seeds starting supplies include:
- Seed starting chart for timing
- Seed starting trays with humidity domes
- Biodegradable pots
- Soilless seed starting mix
- Bucket
- Soil scoop
- Heat mat with thermostat
- Grow light station: light fixtures with adjustable chains and full-spectrum bulbs
- Timer
- Extension cord
- Plant tags
- Marker or grease pencil
- Spray bottle
- Sandpaper or nail file
- Small container with lid
1. Seed Starting Chart
You’ve selected your seeds, and they’re beckoning to you, begging for attention. The snow is swirling outside, and you’re eager for some garden therapy. Is it time to start sowing seeds?
WAIT.
Starting seeds too early can be just as detrimental as starting them too late. It can be a challenge to keep a too-tall tomato healthy inside until May or June. But how do you know when to start sowing seeds, so the plants are ready at just the right time for your garden?
2. Seed Starting Trays with Humidity Domes

Johnny’s Seeds Seedling Grower Starter Kit combines many elements you need for seed starting. Propagation trays are available in many different cell sizes. (Photo courtesy NGB member Johnny’s Seeds)

Park Seed’s Bio-Dome Seed-Starting System is crafted for optimal seed growth with vents to promote essential airflow. (Photo courtesy NGB member Park Seeds)
Use small plant tags or cut larger ones in half when adding variety tags to cell trays. Small tags allow the humidity dome to fit on top of the tray.
3. Biodegradable Pots

Biodegradable pots, like those offered by Johnny’s Seeds, make transitioning seedlings to the garden a breeze. ( Photo courtesy NGB member Johnny’s Seeds)

Botanical Interests’ biodegradable recycled paper pots decompose when planted in garden beds. ( Photo courtesy NGB member Botanical Interests)
Make sure to harden off your seedlings before planting them in the garden. “Hardening off” means to acclimate your indoor-grown seedlings to outdoor conditions. Slowly introduce your seedlings to the great outdoors for about 10 days, placing them in sun for an hour or so on the first day, gradually adding more time each day. Hardening off helps avoid sun-scalded leaves.
4. Soilless Seed Starting Mix
5. Medium-Sized Container with Lid
6. Soil Scoop
7. Heat Mat with Thermostat

Heat mats with thermostats, like the Agritape Heat Mat from Harris Seeds, provide controlled bottom heat to help with germination. (Photo courtesy NGB member Harris Seeds.)

Maintaining a constant soil temperature when germinating seeds or propagating plants like tomatoes and peppers is easier with a heat mat like 100 Watt Germination Mat from Hoss Tools. (Photo courtesy NGB member Hoss Tools.)
8. Grow Light Station with Full Spectrum Bulbs and Adjustable Chains

High-quality LED lights, like those from Happy Leaf LED, mimic natural daylight for strong, healthy plants. (Photo courtesy NGB member Happy Leaf LED)

A unit with shelves and grow lights makes the perfect seed starting station. (Photo courtesy NGB member Harris Seeds.)
9. Timer
10. Extension Cord and Power Strip
11. Plant Tags
12. Marker or Grease Pencil
13. Spray Bottle
14. Sandpaper or Nail File
15. Small Container with Lid

You’re Ready!
You’ve gathered your seed supplies, set up your seed starting station, organized your seeds according to start times…now what? If it’s still a bit too early to start your seeds, consider joining a seed swap. Seed swaps are fun ways to try new seed varieties. Instead of buying ten packets of tomato seeds for ten different varieties, partner with some friends or neighbors to swap seeds so that you all can enjoy the pleasure of growing new varieties.